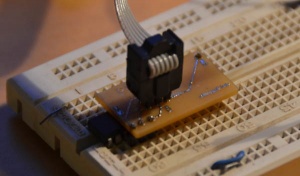
Evolution of breadboard programming headers
From Just in Time
Both of us currently use AVRs as our platform-of-choice for most digital projects. We love the diversity, versatility, the straight memory layout, the availability of compilers and, to be brutely honest, the very low prices at which these microcontrollers can be bought. We typically provide our home-grown PCBs with standard 6-pin programming headers. It may take an extra hour to route the the damn traces for these things on our one-sided boards, but it is generally worth it, being able to re-flash version 0.037 of our firmware.
As is usual, most of our projects start out on solderless bread boards. The AVRs on the breadboards need to be programmed too, so we've evolved several ways to program these as well. This page describes them.
The problem
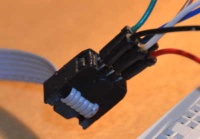
It's simple, really. we need to connect the six pins of our programmer to the corresponding pins on the avr. The programmer comes with a flat cable with block (IDC-) connectors. Additional requirement: being able to disconnect and reconnect the programmer frequently is a plus.
Direct jumper wires
The simplest solution. And the one we both abandoned after about 5 minutes: just take 6 jumper wires, push one end in the connector and the other end at the appropriate row of the bread board.
disconnecting and reconnecting is quite a hassle with this and all in all this is not very stable.
Straight breakout board
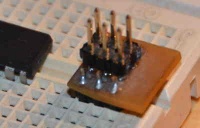
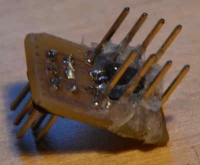
This is quite a simple breakout board that doesn't even need to be made as a custom PCB: plain veroboard would work just fine. The breakout board consists of a two-row grid of header pins on top that receives the flat cable connector and two three-pin headers at 300 mil distance to be placed on both sides of the aisle running down the board. Most versions of this one that you'll find on the internet provide a straight 6-pin row of breakout pins. I don't know why that is, because this one is a lot easier to make and it sits more compact on the breadboard. The breakout is pushed into the breadboard and then 6 jumper wires are used to connect the programmer signals to the appropriate avr pins. It's quite easy to disconnect and reconnect the cable with this one.
This version has served us well. It takes some setting up for every new project though and I found myself having to do both an image search for "avr programming header pinout" and for "atmega8 pinout" every time I started a new project.
Breakout-with-avr
We're cheating here: the AVR isn't on the breadboard, but on the breakout board. You can find several variations on this design on the internet. In essence they consist of a PCB with an AVR, a programming header and breakout header pins for each of the AVRs pins. Most of them are some form of Arduino-compatible breakout-board. The big plus of these is that you can use them to adapt your SMT AVR to be used on the breadboard. The image shows a version that I created when I needed to prototype an attiny13 project, but only had SMT attiny13s available.
Straddling header
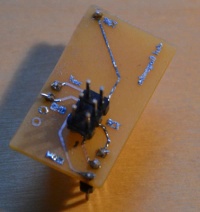
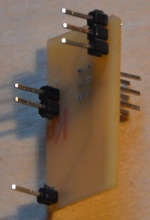
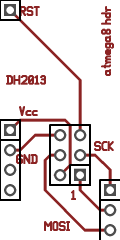
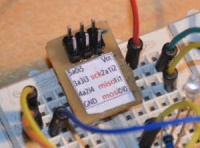
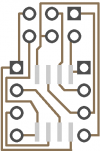
To my best knowledge, it was Vinnie who invented this. This is a variation on the straight breakout. Instead of simply providing two rows of pins, this version offsets the pins in such a way that the board can be placed directly over an atmega8 (or as far as I know: any 28-pin AVR) on the breadboard. Vinnies Definite Straddling Header adds some extra's to it, like a location for an oscillator and an LED, but the one shown here simply routes the pins of the programming header straight to the AVR pins (I tend to avoid using crystals or oscillators because I find them too difficult and they add to the BOM).
To me, the sheer user-friendlyness of just pushing the header on top of the AVR easily outweighs the inconvenience that you need one of these for each AVR family that you use.
