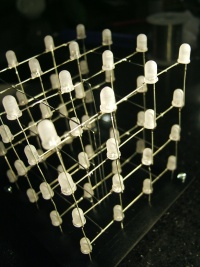
4x4x4 Led Cube - AVR doing Bit Angle Modulation / Single PCB base
From Just in Time
Before starting 8x8x8 Cubes or RGB Cubes it would be wise to excercise your construction and soldering skills with a simple 4x4x4 cube.
The advantage is that such a cube can be driven by a simple Atmega microcontroller on internal 8Mhz oscillator and doesn't require much extra hardware (apart from some P-channel Fets and resistors). Also, the spacing for a 4x4x4 cube allows the whole to be placed on a single 10x10cm PCB. To keep things simple, I decided to also use the PCB as a baseplate by soldering the components on the 'wrong side', even though most are through-hole components. Normally I would use SMT, but it is (nearly) impossible to route this design on a single-layer board with SMT.
Even with through-hole it's been quite a puzzle to get all the routes done (manually). The Fets are SMT, because they are my favorite (cheap and robust) AO3401, which I previously used in the Wireless Lightshow.
For the Leds I used some white ones that I had lying around. Unfortunately they were clear leds, so I had to diffuse them first.
The board design looks like this:
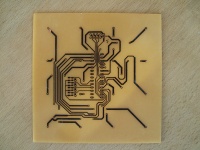
The soldered board looks like this:
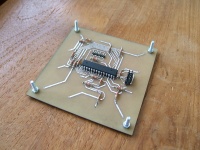
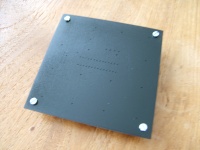
And from the top the base looks pretty neat, after being airbrushed black:
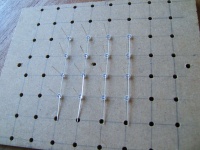
Now the Leds can be soldered. Surely one should make a rig. Since my intention is to also make an 8x8x8 cube I've already made an 8x8 rig.
This works fine for 4x4 too :)
