Difference between revisions of "Diffusing Leds the Fast Way"
From Just in Time
| Line 11: | Line 11: | ||
Fourth step: get the power drill and fit the plug in. | Fourth step: get the power drill and fit the plug in. | ||
| + | [[File:PlugInDrill.jpg]] | ||
Revision as of 22:01, 12 May 2013
For my Led Cube project I needed diffused (opague) leds. And I didn't have any. On the instructables pages you can find instructions how to sand your leds by hand. There it is mentioned that it takes about 5 minutes per led. I don't have that kind of time (or patience) to spend 64x 5 minutes. So I went on a 'Home Improvenent' mission to use some power tools to diffuse my leds.
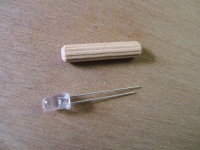
First step: make a fitting for the led. I used a wood plug. Wood is good, plastic might tear apart or melt sooner. The wood needs to be kinda hard too; after about 50 leds the holes seemed to widen.

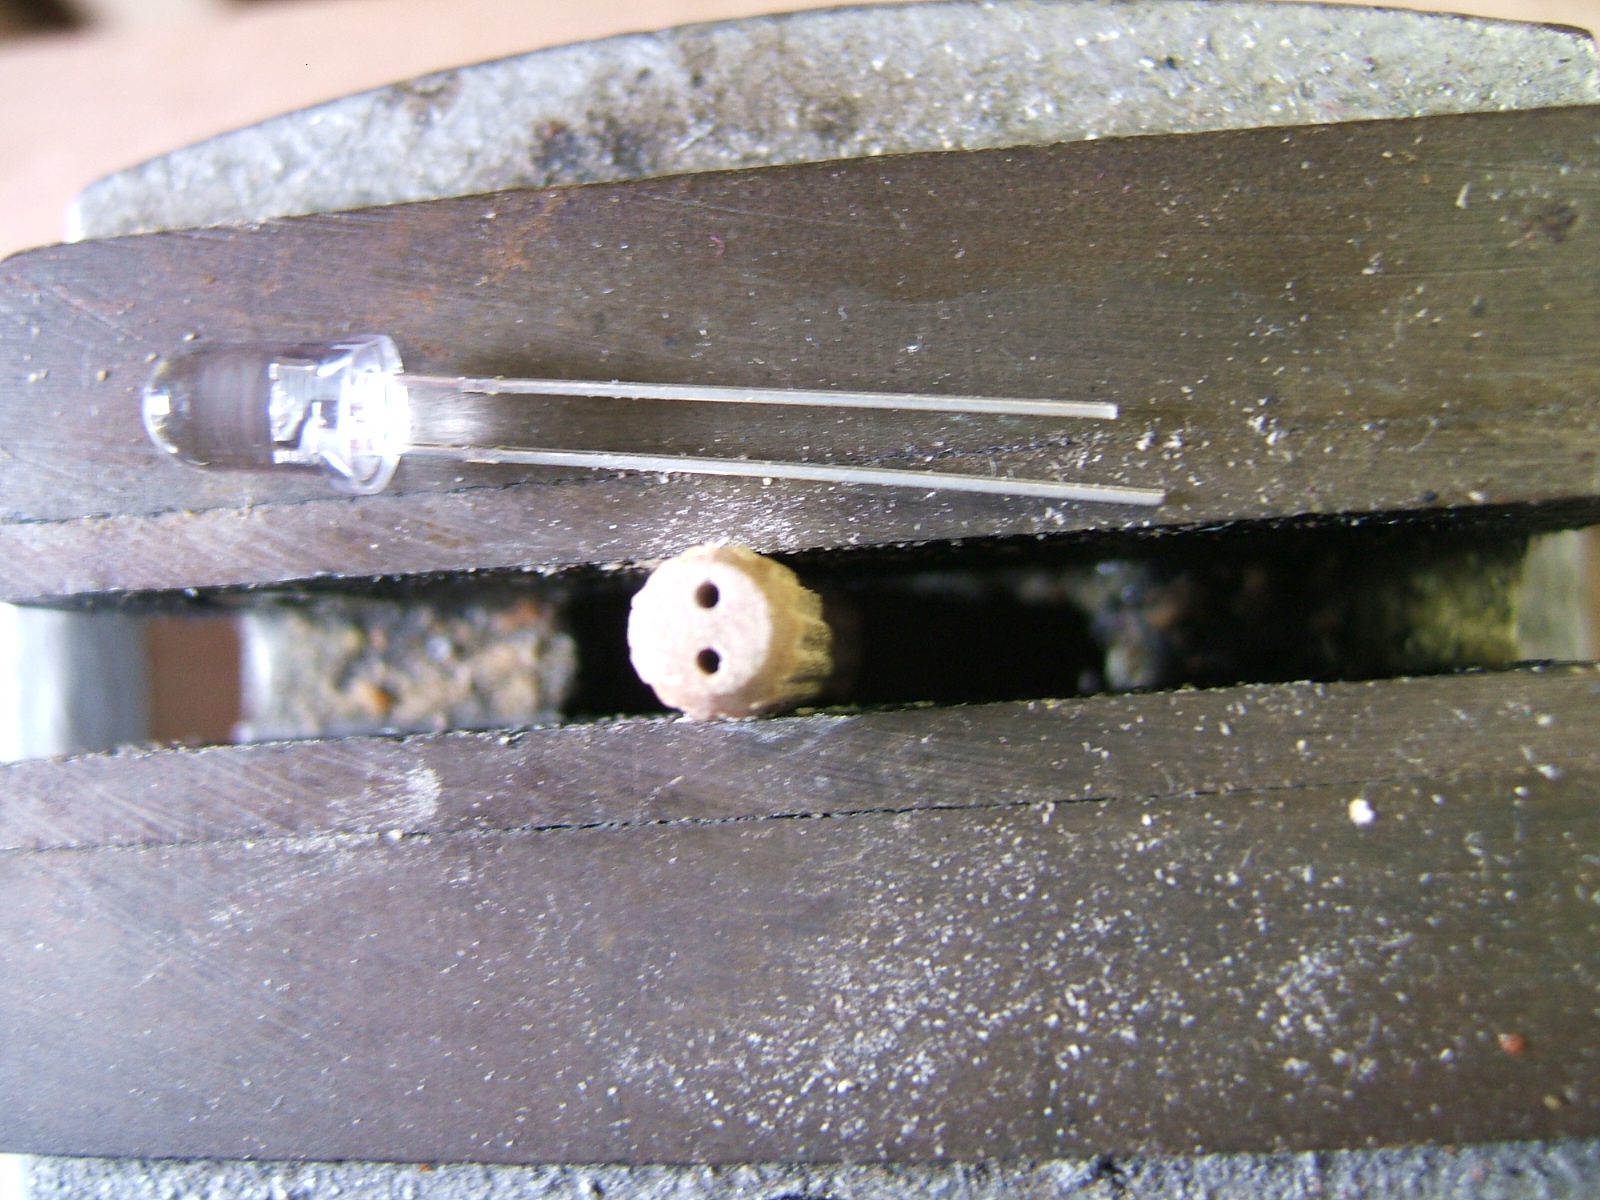
Second step: drill two holes in the plug using preferably a 0.8mm (or 0.7mm) drill. A PCB drill bit will likely be that size.

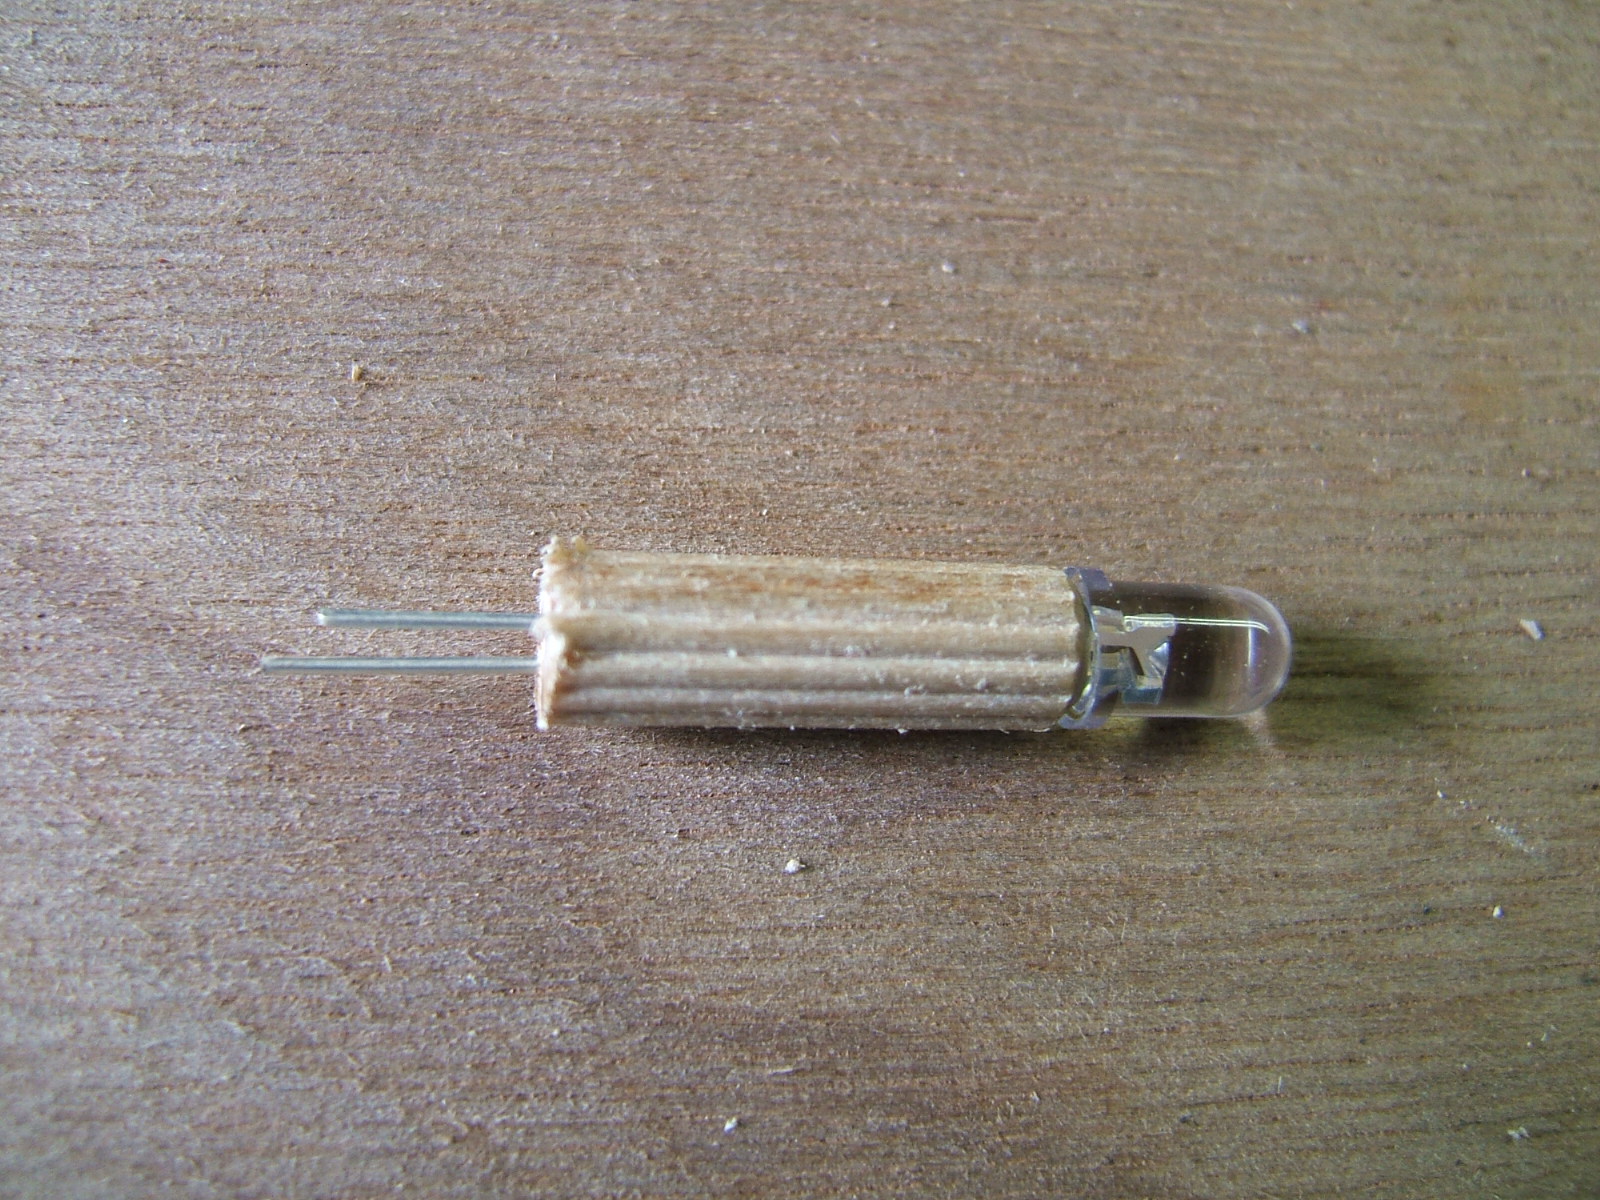
Third step: saw through the plug, so the led pins can come out of the bottom and the led can sit to the top of the plug tightly

Fourth step: get the power drill and fit the plug in.

Instead of sanding paper I used a sanding sponge, because that could adjust to the shape of the led very well. It takes about 10 seconds per led to diffuse it.
File:DiffusedLed
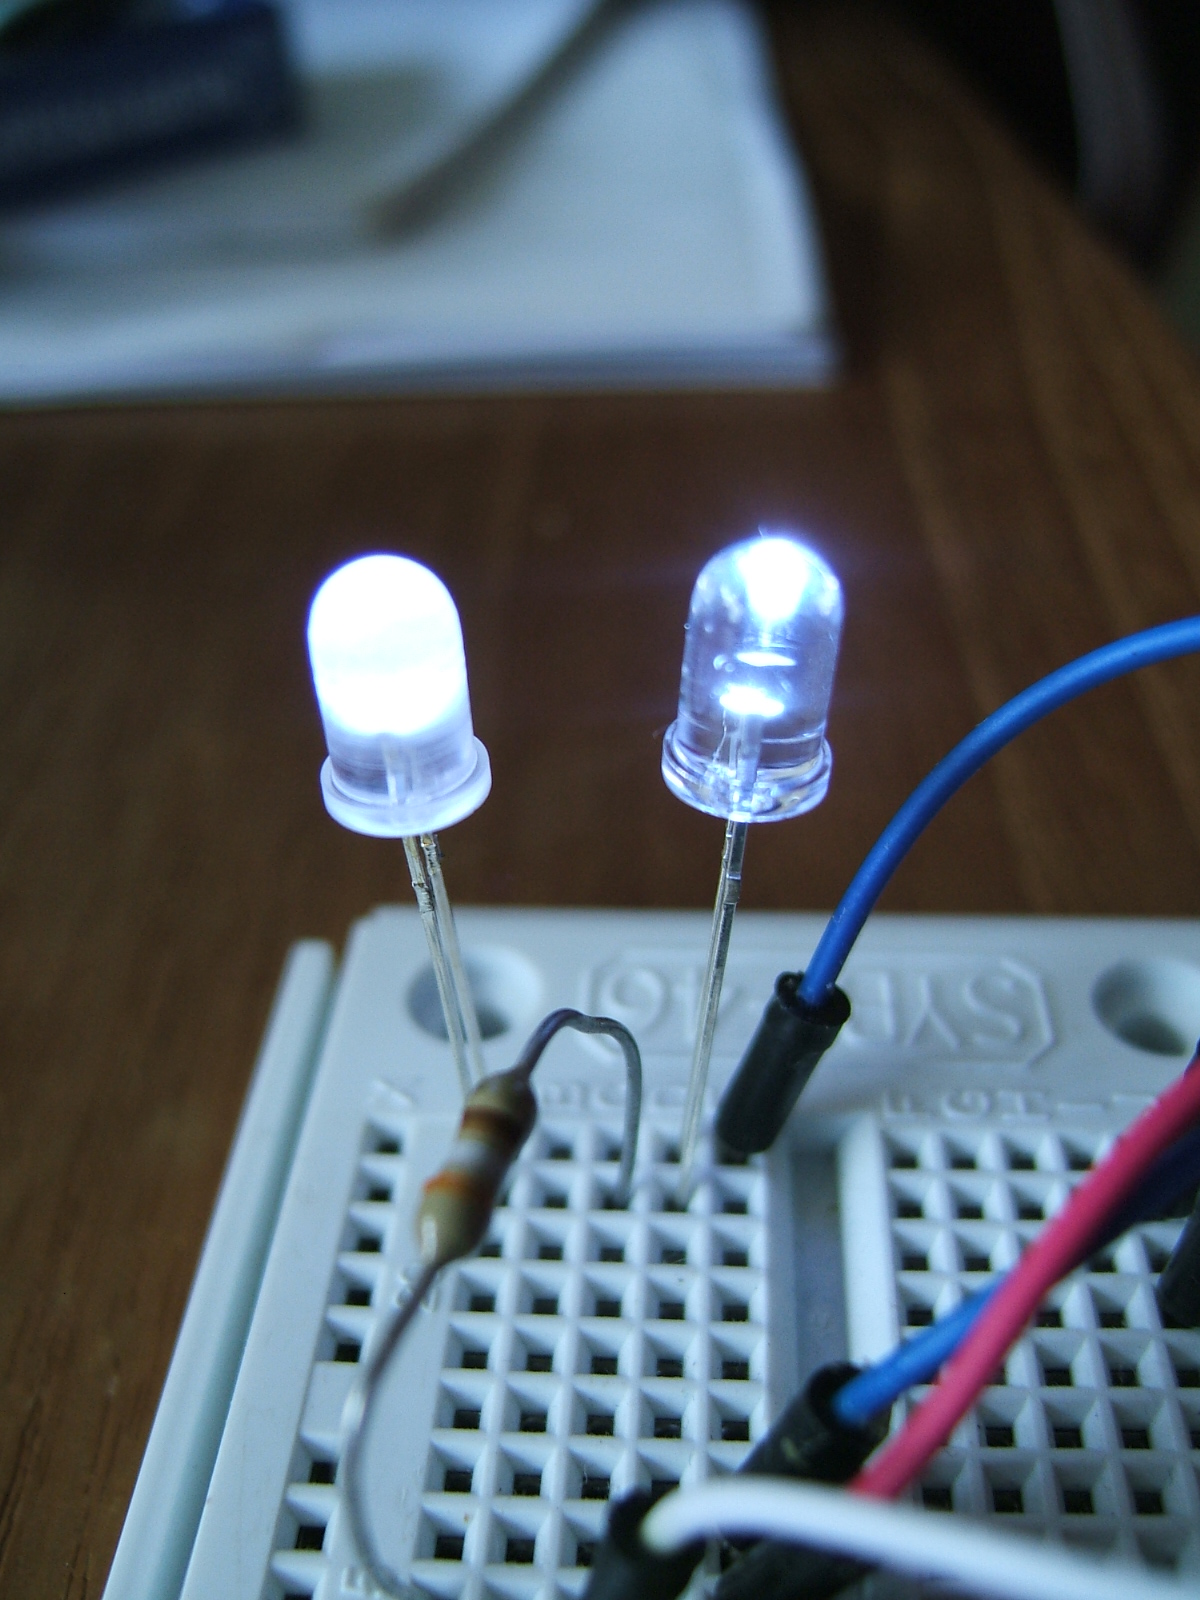
Here are the diffused result and the clear original compared:
